Cepheo Advanced Ledger Import
Cepheo Business Documents
Document examples
Business Documents configuration
General for all documents
Sales order configuration
Sales invoice
Sales packing slip
Purchase order
Project invoice
Quotation
Interest note
Work report
Dynamic payment information
Release notes Cepheo Business Documents
Cepheo Currency Import
Cepheo Engineering
Cepheo Engineering - Functional overview
Engineering setup
Engineering parameters
Engineering global parameteres
Change notification parameters
Classification Codes Setup
Item property setup
Manufacturer Setup
Material Quality Setup
Product setup
Spare Parts Setup
Released Item Setup
How to use Engineering
Release overview Engineering
Cepheo Expense Extension
Cepheo Expense Power App
Cepheo Foundation
HowTo
License overview
Model upload
Business events
Release overview Foundation
Release notes Foundation
Base.2022.11.2.21
Base.2022.8.2.19
Base.2022.8.2.16
Base.2022.8.2.15
Base.2022.2.2.11
Base.2022.2.2.10
What is Cepheo Foundation
Cepheo Human Resources Extension
Setup Human Resources Extension
Use Human Resources Extension
Release notes Human Resources Extension
What is Human Resources Extension
Cepheo Installation
Setup Installation
How to use Installation
Release overview Installation
Cepheo MVA-melding
MVA Setup
MVA Reporting
Step 4: Reporting
Step 4 | Section 1: Tax reports
Step 4 | Section 2: Standard tax codes
Step 4 | Section 3: Tax specifications
Step 4 | Section 4: Report remark
MVA Multicompany setup
MVA Intercompany setup
MVA Intercompany Tax report
Cepheo SAF-T reporting
Cepheo Sales Integration
Cepheo Shipment Booking
Shipment booking setup
Shipment booking external values
Transform addresses, senders and recipients to address quick ID's
Transform label
Transform carrier information
Transform country, state and county
Transform currency code
Transform print favorite
Transform shipment payer account
Transform container types
Transform shipment booking status
Transform security group
Shipment booking parameters
Document transformations
Shipment booking senders
Shipment booking labels
Shipment booking print favorites
Shipment booking security group (nShift Delivery)
Carrier container type
Shipment booking cost rule
Import Carrier setup
Setup of carriers
Shipment booking Sender
Shipment booking app setup
How to use Shipment booking
Notification contacts
Consolidate shipment bookings from Create Shipment booking dialog
Maintain content lines on a Container on a Shipment booking
Release overview Shipment booking
Cepheo Subscription
Cepheo Test and Certification
Cepheo Timesheet Extension
- All Categories
- Cepheo Shipment Booking
- How to use Shipment booking
- Notification contacts
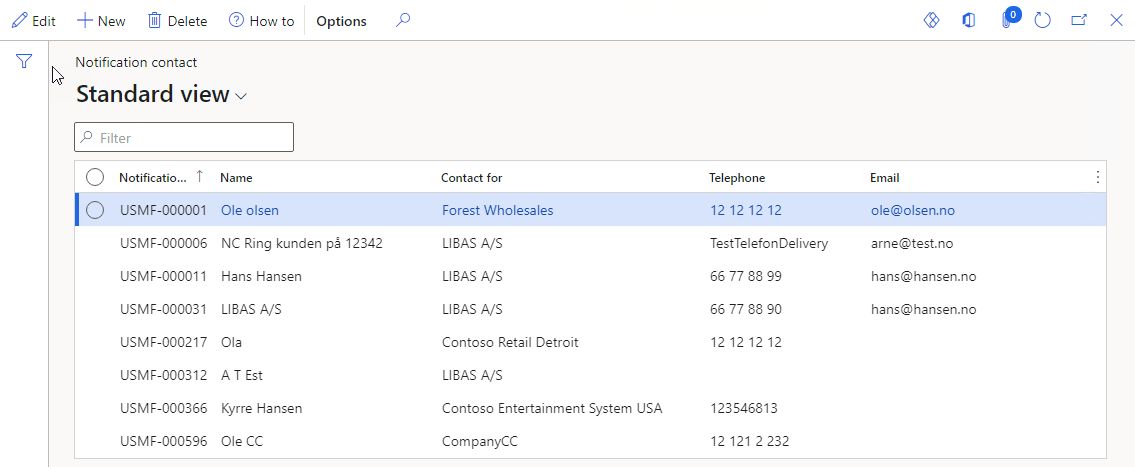
Notification contacts
A Notification contact is the contact person for the receiver at the drop off location.
The Notification will be copied to the Shipment booking if the source is a Sales order or a Shipment.
Navigate to Cepheo® > Shipment booking > Notification contacts in the Modules menu.
Easy maintenance of Notification contact in forms
Easy maintenance of Notification contacts has been implemented in many forms.
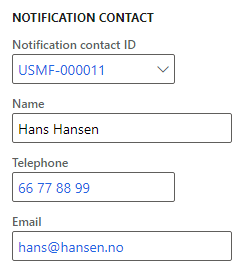
Create a Notification contact
Enter a name of a contact in the Name field to create a Notification contact. The Notification contact is created after leaving the Name field.
Maintain a Notification contact
It is possible to edit name, telephone and email.
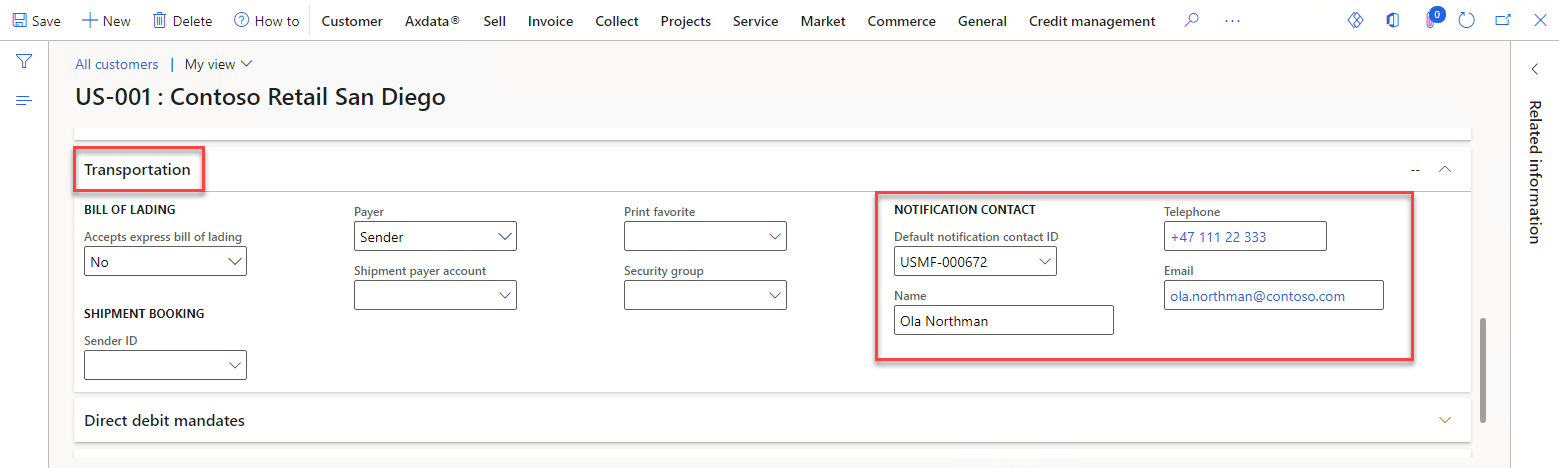
Set default Notification contact on Customers
It is possible to set a default Notification contact on a customer. This Notification contact will be copied to the Sales Order on create.
Navigate to Accounts receivable > Customers > All customers in the Modules menu.
In the form navigate to the Transportation > Notification contact
Maintain Notification contact on Sales orders
Navigate to Sales and marketing > Sales orders > All sales orders in the Modules menu.
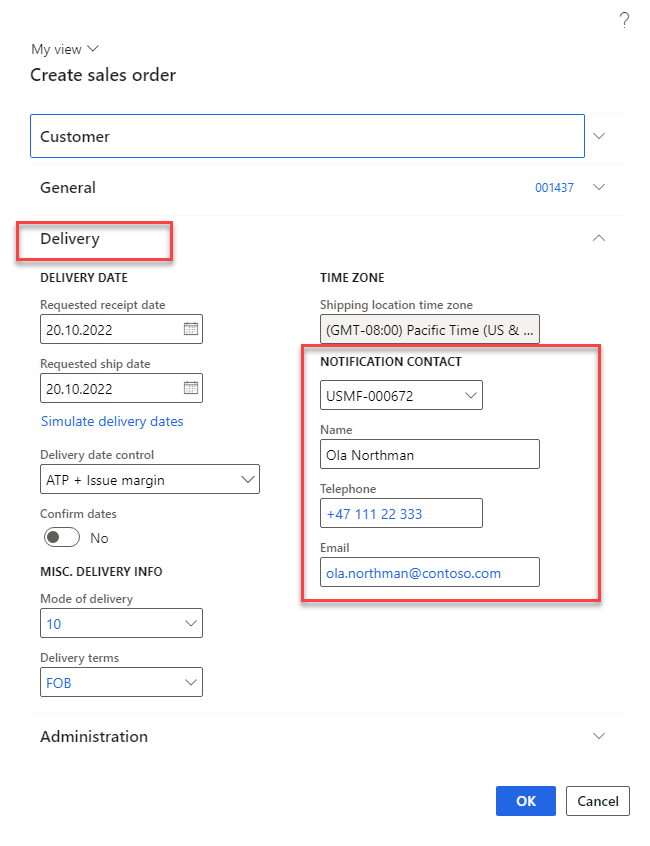
Create Sales order
In the form navigate to button +New
It is possible to edit the Notification contact when creating a Sales order. The default Notification contact is copied from the selected Customer.
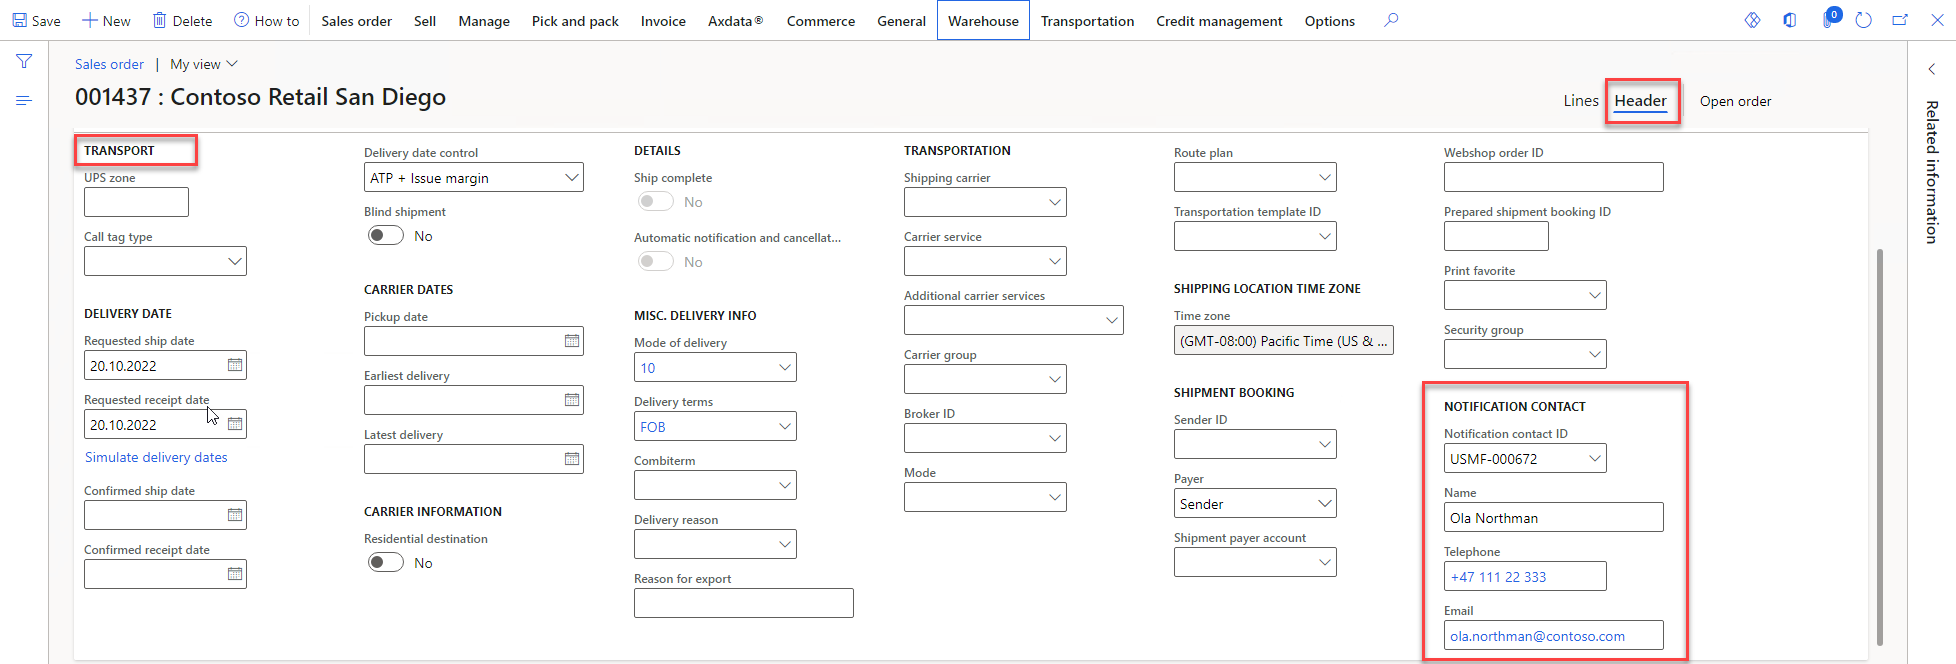
Maintain Sales order
In the form navigate to Sales order > Header > Delivery > Notification contact
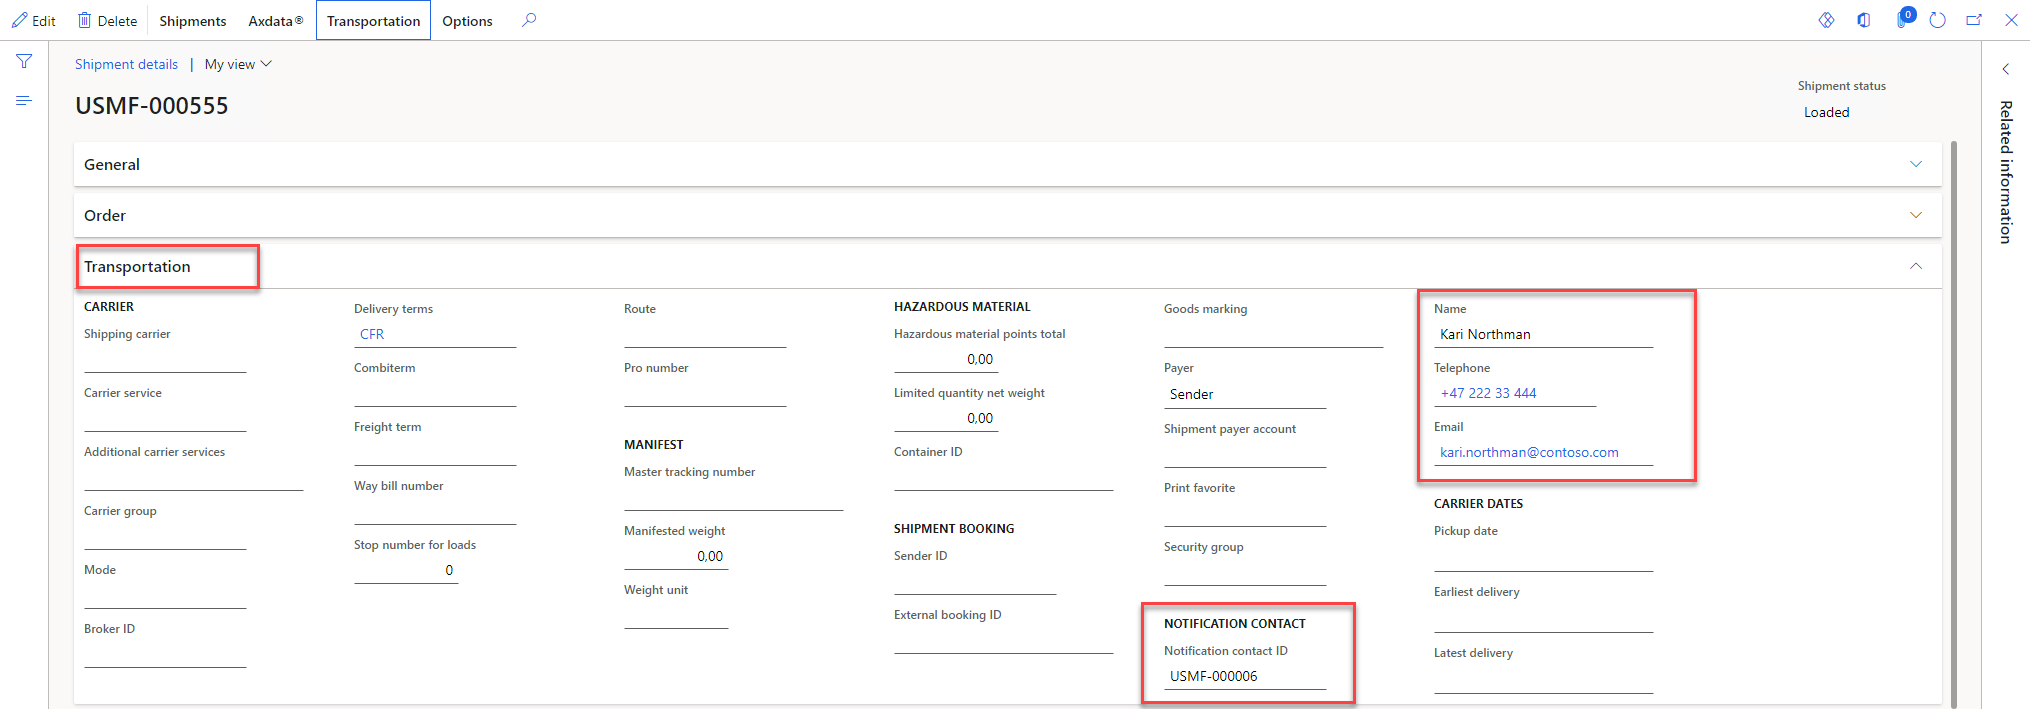
Maintain Notification contact on Shipments
Notification contact is copied from Sales order to Shipment if the shipment is created from a Sales order.
Navigate to Warehouse management > Shipments > All shipments in the Modules menu.
In the All shipments form find the Shipment to be edited and click on the Shipment ID. It will open the form Shipment details.
In the form Shipment details navigate to Transportation > Notification contact